How To Record Music From the Internet
 This is much like an article I wrote almost twenty years ago when K5 was still relevant. It was on K5’s front page, but I can no longer find any trace of it. That one centered on sampling LPs and cassettes, as there was no quality streaming back then because nobody had high speed internet; most people were on 56k phone modems.
So I’ll just do it again, updated for changes in technology. This is a lot easier than back in the analog days of LPs and cassettes. It’s easier with Windows 10 than 7, although this won’t work on my little Dell Windows 10 notebook. In Windows 7 you had to type a command to access a control panel widget, much of which was invisible.
Before that was Windows 98 and XP, which were a breeze to record, as there wasn’t any streaming internet. That was the time period where I wrote the earlier article, which was about sampling LPs and cassettes with a free but proprietary and Windows-only program called Exact Audio Copy. It was basically a CD copying program that you could also use to record and burn CDs with.
I’ve seen a device to digitize cassettes advertised on Facebook. Do not trust these! No portable cassette player ever manufactured, including the Sony Walkman, were anywhere near high fidelity. As I’ll go into detail later, the frequency response is incredibly limited.
So I’ll recount sampling from LP or cassette as well as YouTube or KSHE. Rather than EAC, I recommend Audacity. It’s free, open source, cross-platform (I’m not sure about Apple), and unlike EAC will export to almost any audio format, and has way more features than I’ve ever used. That, and CDs are pretty much obsolete. We’re going to concentrate on the W10 OS version, although they’re pretty much the same on any platform. Just google “Audacity” to download it from Windows, in Linux you know what to do, it will be in your repository.
The below picture probably won’t look exactly like what you’re seeing on your computer. It changes with screen size and shape, as well as when it’s updated, which is often.
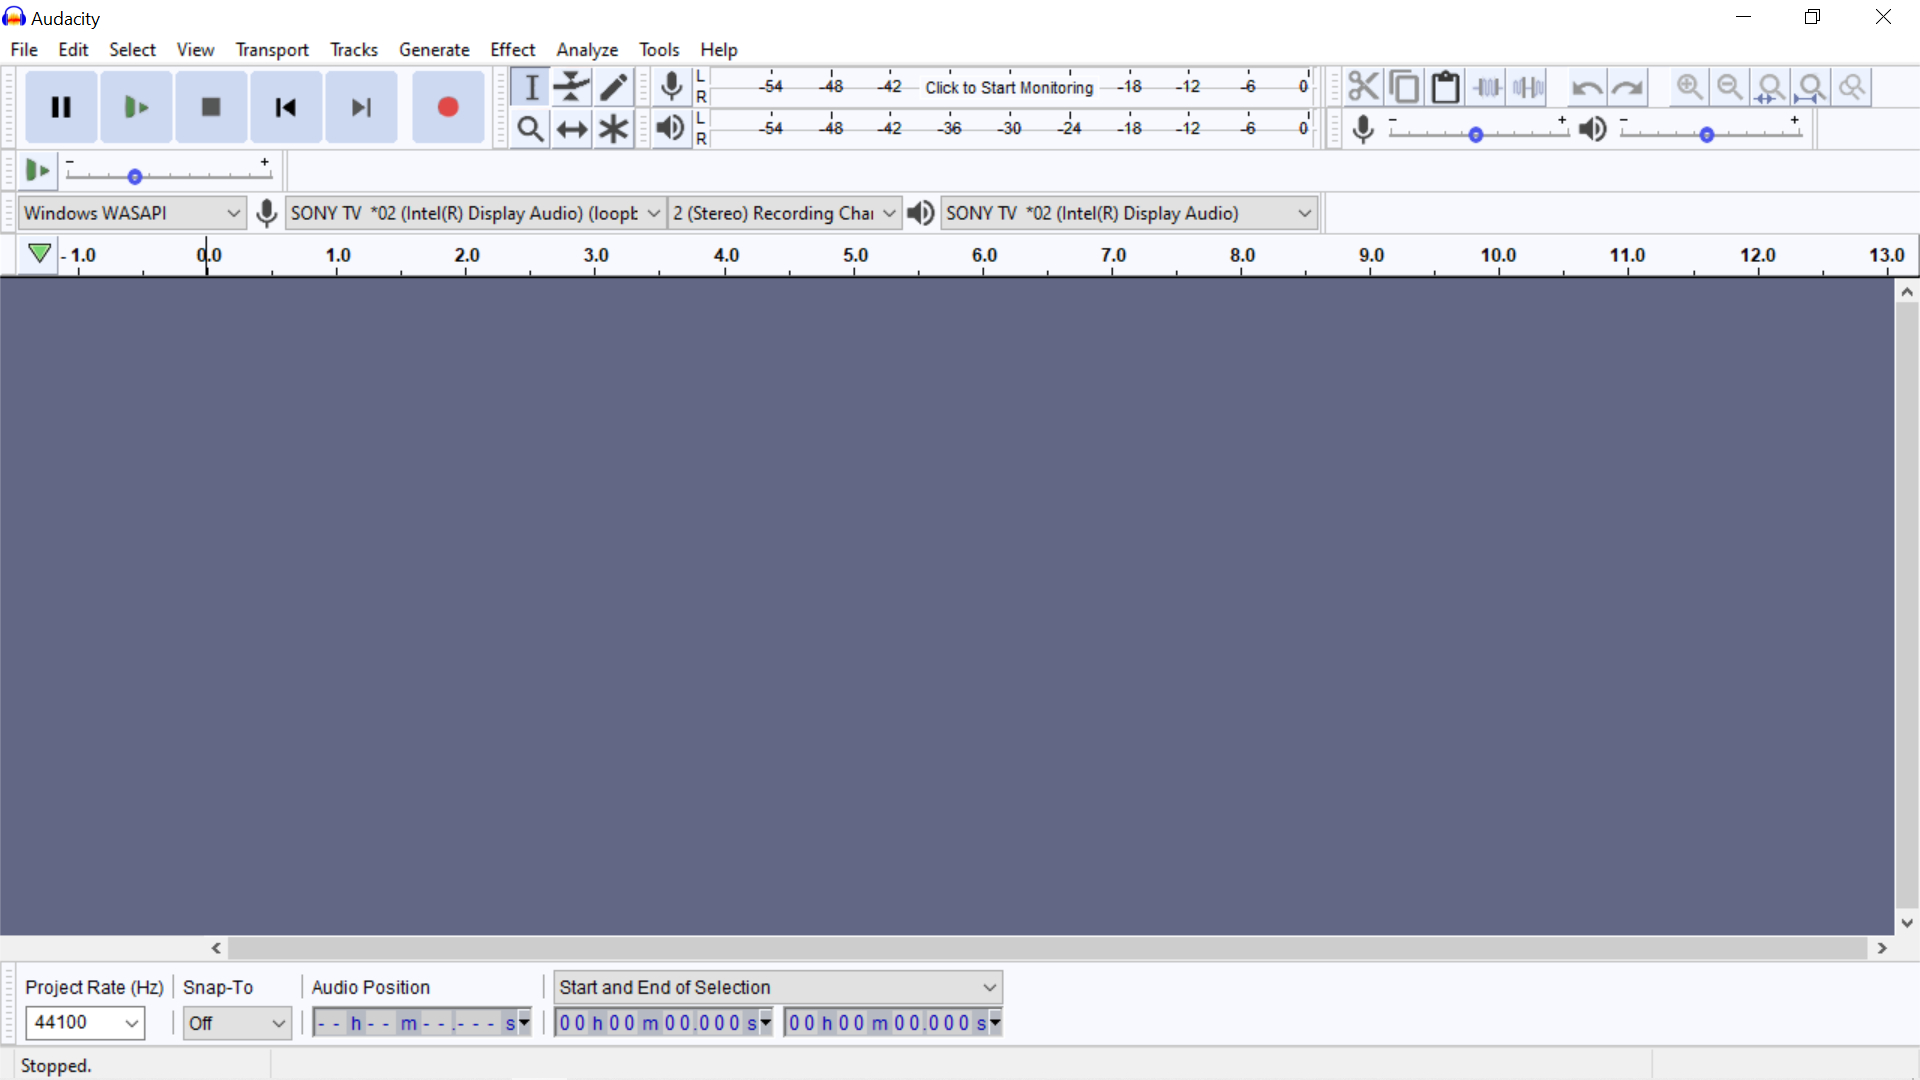
You see the standard tape recorder controls that were on reel to reel, cassettes, eight tracks, and VCRs at the top left. For recording, you need a cable from your stereo’s headphone jack if it doesn’t have a “Rec Out” to your computer’s audio input jack. If you don’t have an input jack, you’ll need a sound card, which will have one.
Or a better computer unless you just want to record the internet.
As mentioned above, on the subject of quality, with analog the quality of your equipment really mattered. Some think that turntables lacked bass because otherwise they would skip, but the fact is that cheap turntables rumbled, so the frequency response had to be cut off at the rumble. Likewise with cassettes; especially cassettes. You’re not going to get good sound out of a WalkMan or any other portable, as it has an incredibly limited frequency response, topping out at just over half of what an ear is capable of hearing., while the cassettes themselves come within 2,000 Hz of CDs’ response, a higher frequency than is audible to most people. The best bet is to find very old used high quality equipment that is now affordable.
To record, start the record or cassette and hit the red “record” button and watch the screen. If you see a straight line instead of a waveform, make sure the microphone icon in Audacity is pointed to your input. If not, change it until it works, as there will only be two or three settings.
Then adjust the volume. There will be a graphic showing different volumes. Turn it up to yellow, then down some. When it looks good, rewind the cassette and restart it or move the needle back to the LP’s start. You can delete what was recorded earlier later.
It’s very similar for recording YouTube. As long as the input is pointed right, it will record the internet. That’s the tricky part, and as mentioned before, it won’t work on every computer. If none of the inputs work, you need a better computer. My little Dell notebook won’t, as the microphone seems to be hardwired and never shuts off (not the worst design decision on that crappy little computer), but the Dell tower has no problems, nor does the old HP laptop. All but the HP run Windows 10.
Whatever you’re recording, whether a song from YouTube or an album from LP, cassette, or KSHE’s 7th Day program, you will want to delete commercials and other noise from the beginning, and the noise or silence at the end. If you’re recording an album, don’t do it yet.
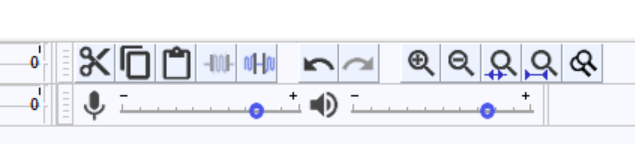
These tools may be in different placements on the screen, depending on your screen and window’s size and resolution. The first three tools are the standard cut, copy, and paste. The next deletes anything not selected, the next silences the selection. I’ve not had use for these two.
Then there are standard undo and redo, followed by zoom in and zoom out. The next fits the selection to the screen, then “show the entire file”, and the one on the right zooms in as far as it can. These are all tools to remove noise and silence. Underneath are the volume controls for recording and playback.
If you’ve recorded and edited a song it’s time to export it to a format that programs other than Audacity can read. Before exporting, you should amplify the sound’s volume, which you’ll find in the menu item “Effect”. choose it (some versions require you to select the entire file first) and tell it okay. This selection is actually misnamed, as you can decrease the volume as well as increase it. Farther down in that menu you’ll find Fade out, handy when recording the radio. On the radio, songs that fade out are amplified until the end, where it just cuts off. You can restore the fade with this.
When you’re ready to save the file to a format that media players can understand, select File, Export. Unfortunately, each update to Audacity changes menu positions so you may have to look for it at first. The version I’m using gives you a choice of MP3, OGG, WAV, and simply Export. The previous version gave only Export, which gives you a LOT of choices, seemingly every digital audio format there is. Lately I’ve been saving to 32 bit floating point WAV, which seems to sound clearer than FLAC, a “lossless” compression, only lossless if you’re compressing a CD quality file, 16 bit WAV.
After you give it a name and press Enter, the Metadata window will come up so you can fill in information about the song. For entering metadata, including track names, I simply copy it from the Wikipedia entry on the album and paste the data in. After entering the data, which will show up in media players like Winamp and VLC, press okay to save it.
If you’ve recorded an album, you want to select Edit, then Metadata (the earlier version had edit metadata under File) to fill in the album name, artist name, year, everything you wish to put in except the song title and track number, which will be filled in automatically when you export it.
Find the beginning of the first song and mark it as a track skip. There are two ways to do it, with the menus or the keyboard. The keyboard is the logical choice. For the menus, it’s been so long I’ve forgotten that route, which required several clicks, so just hit Ctrl+B.
A line will appear showing where the track starts, with a little square at the bottom where you can type in the track’s name, or paste it in after copying it from Wikipedia.
Repeat that for each track, then remove the silence or noise at the end of the album.
Select “export multiple” from the export menu, and a window will appear for you to choose a directory (“folder”) to save the files in, and other choices. I always create a new folder with the album’s name.
When you click “okay,” a metadata window will open for each song, one at a time. Generally just hit “enter” for each one, unless the name has a question mark or colon or other character that can’t be used in a file name. If that’s the case, another window will open allowing you to fix the name, so don’t hit “enter” too quickly.
You should listen to the file before or after you export it. Occasionally when recording from the internet, there will be “holes”; where you can hear a very short, momentary silence. Several such holes in a very short time, say three to five seconds with 20 holes will make a strange sound in the file. You can remove them with Audacity, usually without leaving a trace they were ever there.
The holes aren’t missing data, at least not usually. A long silence can lose data, but the way it works is the streaming computer sends a packet, your computer signals it got it, and it repeats. But if something on either end goes astray, there will be a silence but seldom missing data.
There’s a menu item to delete silences; don’t use it, this isn’t what that selection is for. Instead, you’ll have to remove the silences manually.
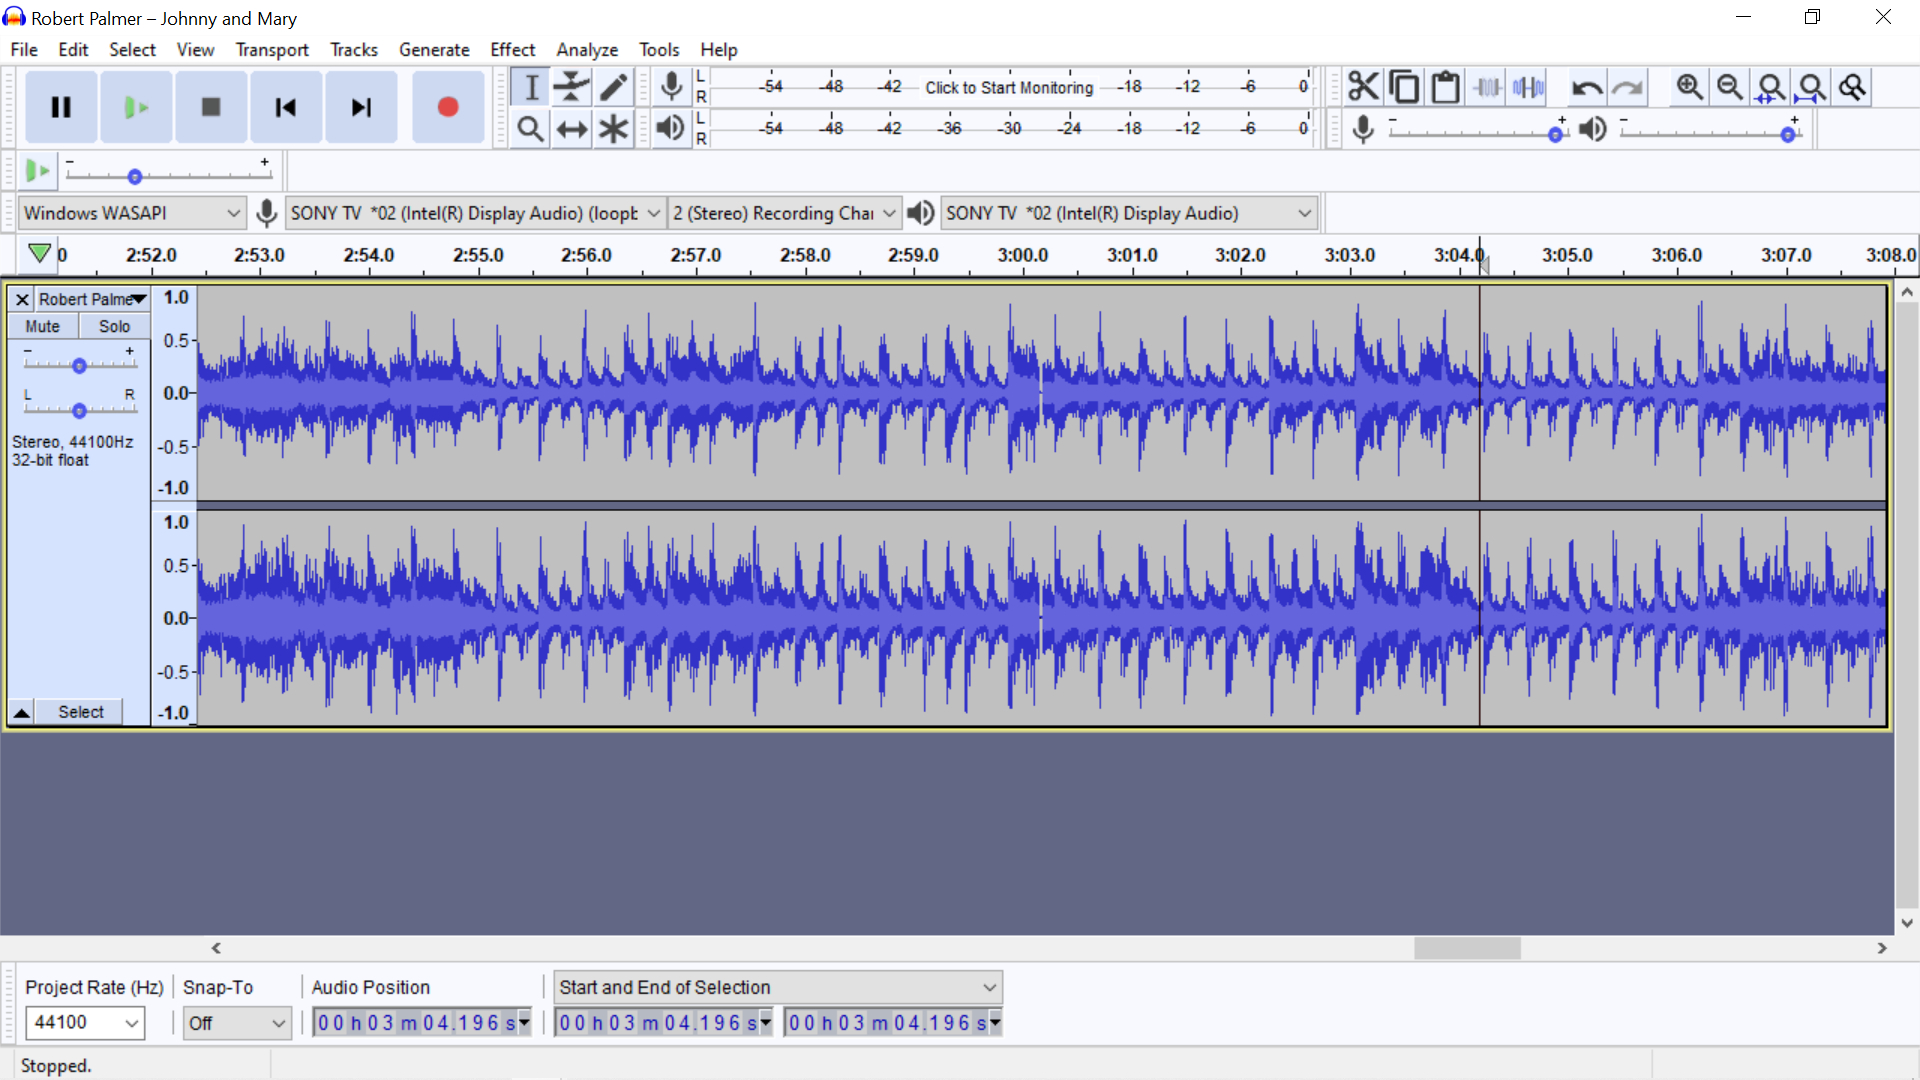
Select the first fifteen seconds of the file (ten for a small screen), and click the tool mentioned above to fit the selection to the window. Scroll right a screen at a time, and you will see any holes.
When you find one, center the cursor on it and hit the zoom in icon seven times. The tiny hole will then look like this:
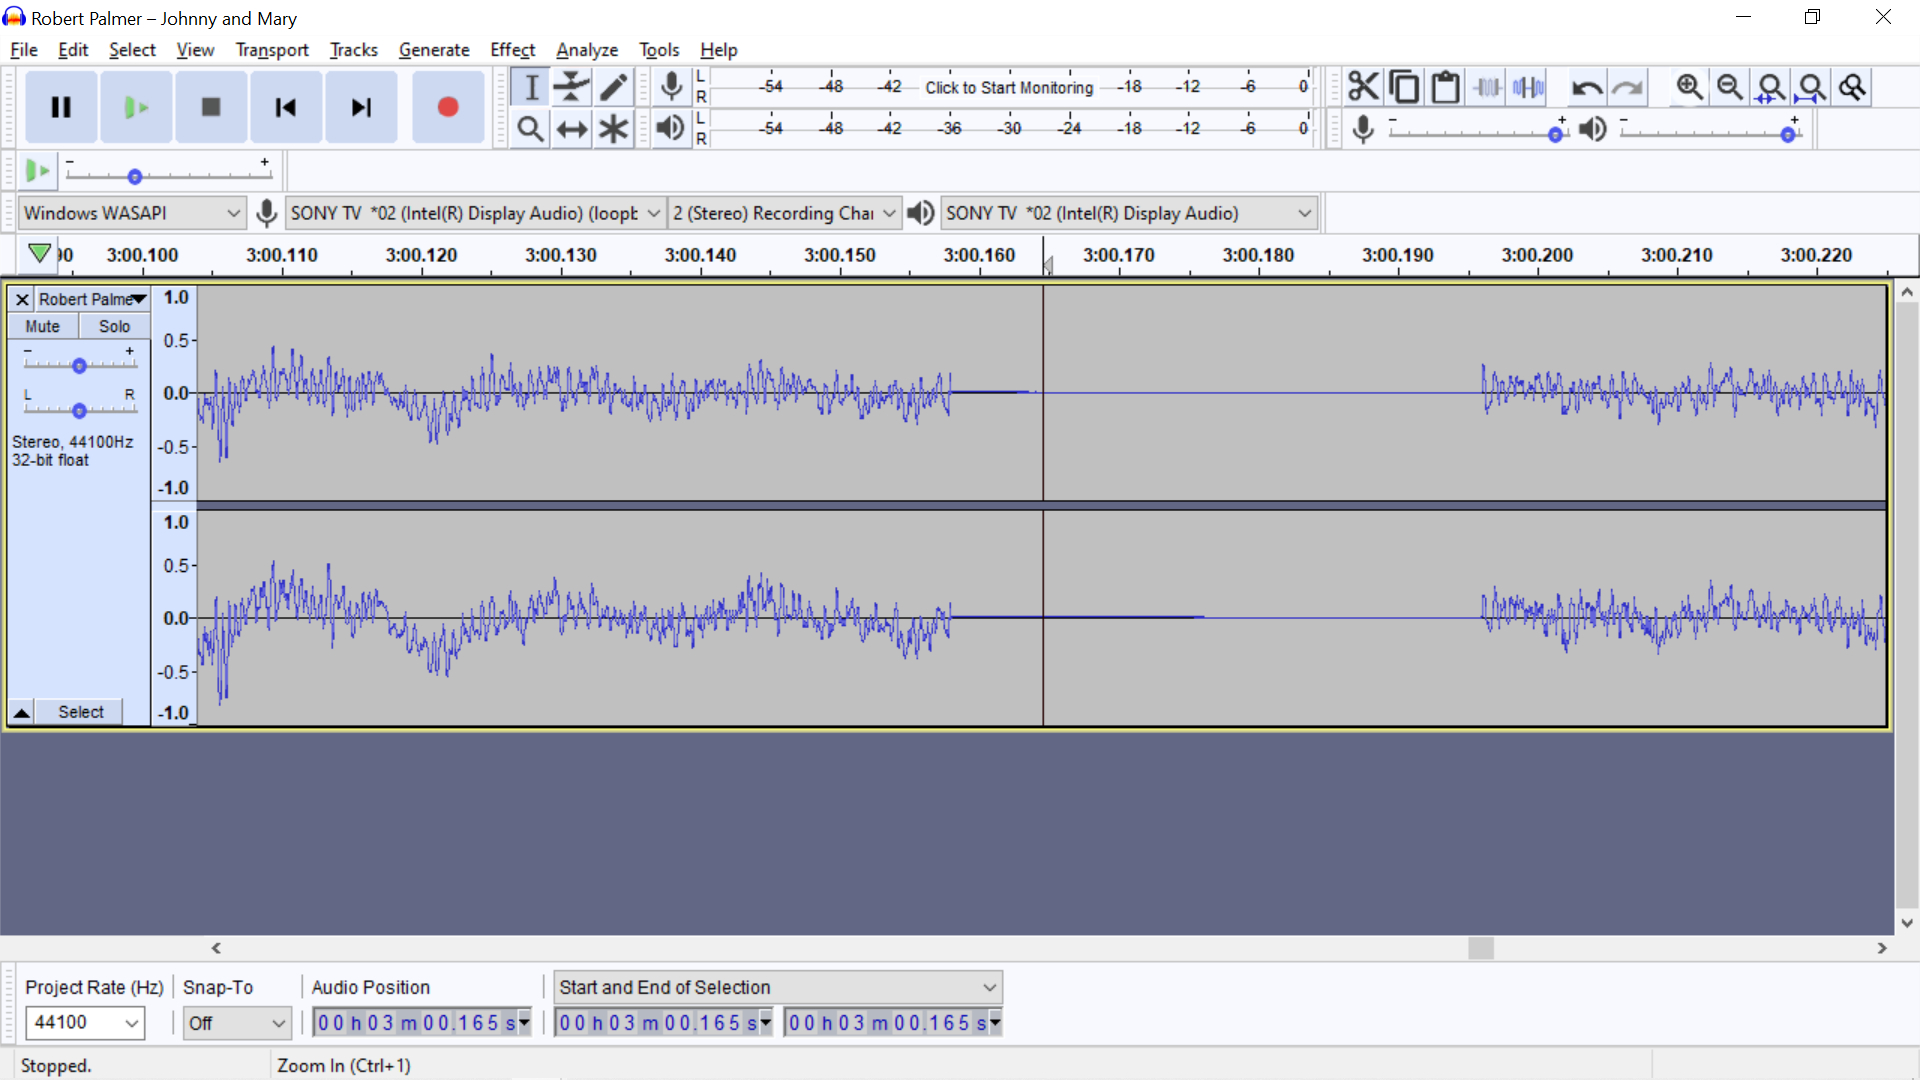
Then select from almost one edge of the silence to the other. You can leave a tiny bit of space on either side of the selection, that small of a hole is inaudible and it keeps you from accidentally deleting data. When the hole is repaired, zoom out seven times and keep going until the end of the file.
In closing, this just scratches the surface of Audacity, but it’s all I’ve used it for in the last decade. Oh, and by the way, some of you may think this is illegal. It isn’t. Recording has always been legal in the US; no law was ever passed outlawing it. Despite its name, copyright isn’t about copying, it’s actually about publishing, and the Home Recording Act of 1978 specifically legalized copying.
Have fun!
What Went Wrong in Afghanistan?
Why I Don�t Write Dystopian SF
How to Be a Vulcan
Why the National Anthem Should Be Changed
Product Review: Battery Powered Lawnmowers
Dear President Biden
Dear Governor Pritzker,
The Horrible Reason Most Professional Sports Players Are Black
Words
Last year's stories and articles
Share on Facebook
You can read or download my books for free here. No ads, no login, just free books.