| |

 I was an amateur photographer in my youth, starting in high school when I bought a Canon 35 mm Single Lens Reflex (SLR) camera. I’d been interested in photography since I was about twelve, when I somehow obtained a Three Stooges photo developing kit. That toy hooked me, even if I could only do contact prints until I got a job when I was a teenager and bought a cheap enlarger. Color film went to a commercial developer, as I had neither the knowledge nor equipment to develop color film. I was an amateur photographer in my youth, starting in high school when I bought a Canon 35 mm Single Lens Reflex (SLR) camera. I’d been interested in photography since I was about twelve, when I somehow obtained a Three Stooges photo developing kit. That toy hooked me, even if I could only do contact prints until I got a job when I was a teenager and bought a cheap enlarger. Color film went to a commercial developer, as I had neither the knowledge nor equipment to develop color film.
So I have a lot of photographic slides and prints to digitize, since film photography is now obsolete; Kodak put itself out of business when they invented the digital camera which made their cash cow, film, obsolete. Prints are easy to digitize, as scanners are cheap and make good digital photos out of film prints. But what about my slides?
I asked at Walgreen’s photo department if they could digitize slides, cringing at what was sure to be expensive since I’ve dug up half a dozen boxes of them. But they couldn’t, and the lady said there were only two places in the country that could. I looked them up. Both were prohibitively expensive and you don’t get the slide’s frame back, only the film.
Then I had an idea, remembering the slide viewer I used to have and may still have somewhere. All I had to do was put my phone to the viewer’s eyepiece and snap a photo! I looked, and bought one on the internet. It was only six bucks after shipping.
Alas, when the viewer came, there were complications; keeping the camera and viewer lined up still was impossible, making the digitized images awful.
So my next step was holding it together with a rubber band to keep it steady. I didn’t have any, so the final cost was closer to ten bucks; you can’t just buy one rubber band, you have to buy the whole bag.
If you have no computer, it will cost you the price of one, because later you’ll need an image editor.
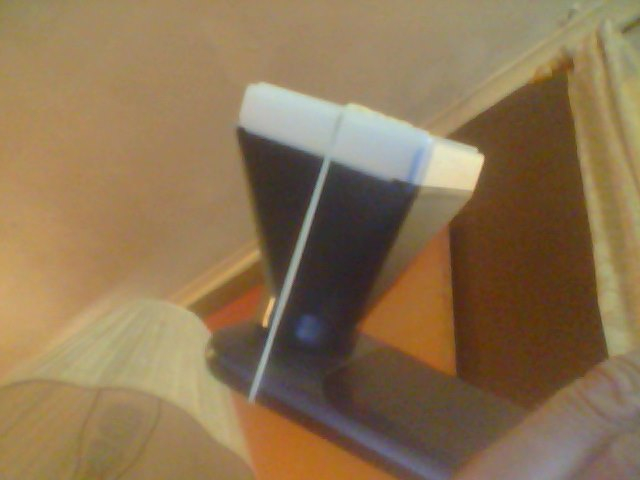
Here’s what the phone/viewer/rubber band combination looks like:
The next step is to turn the phone’s camera on and line the viewer up.
Next, carefully lay it flat on a table and tape the viewer to the phone. Any kind of adhesive tape will do, just make sure it’s tight before removing the rubber band, which will interfere with the photo if left on.
Of course, you can use any source of illumination. I used a table lamp; a flashlight would do. You can vary the brightness and contrast by moving the contraption closer to or farther from the light.
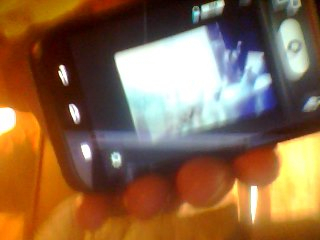
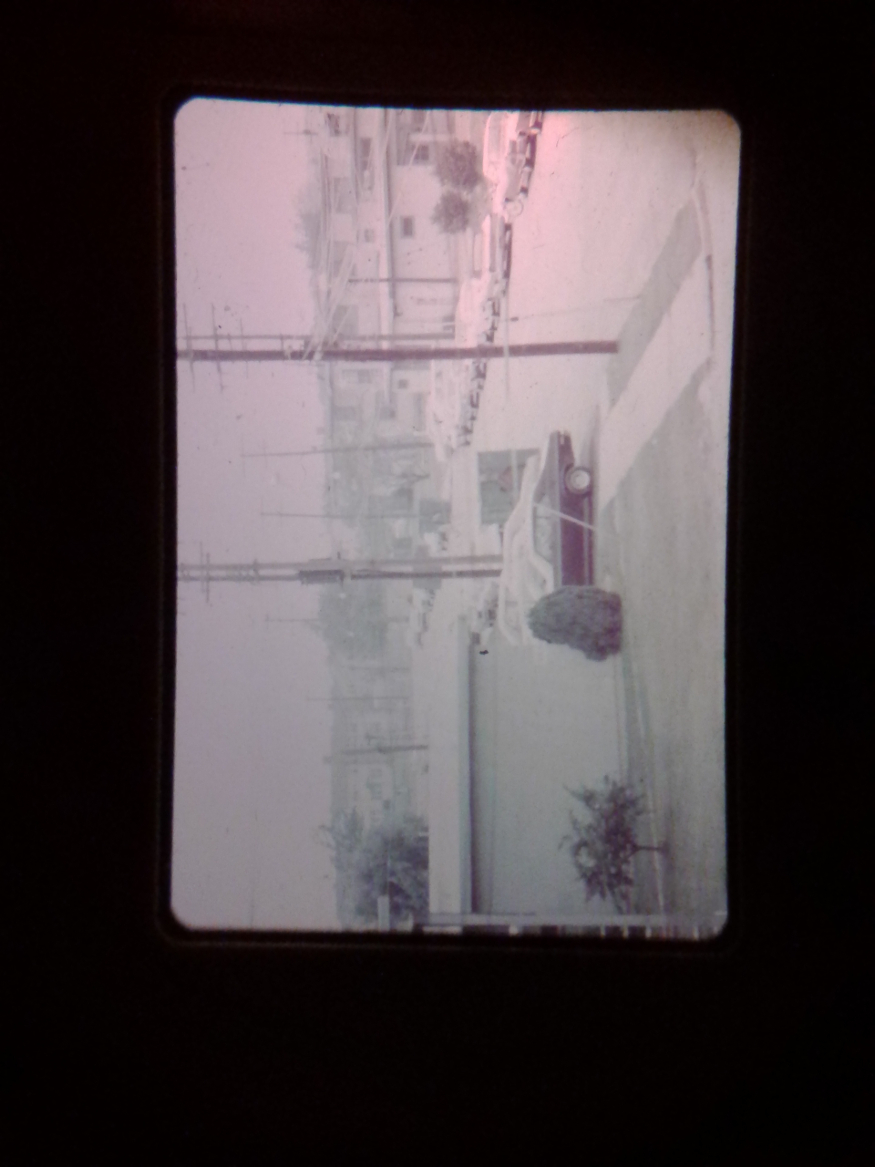
Here’s what the raw output from the camera looks like, which is why you need an image editor:
I use the Gnu Image Manipulation Program (GIMP). It’s free and open source and has everything you need to manipulate images, although it has a large learning curve. Here the slide is; digitized, cropped, and rotated:
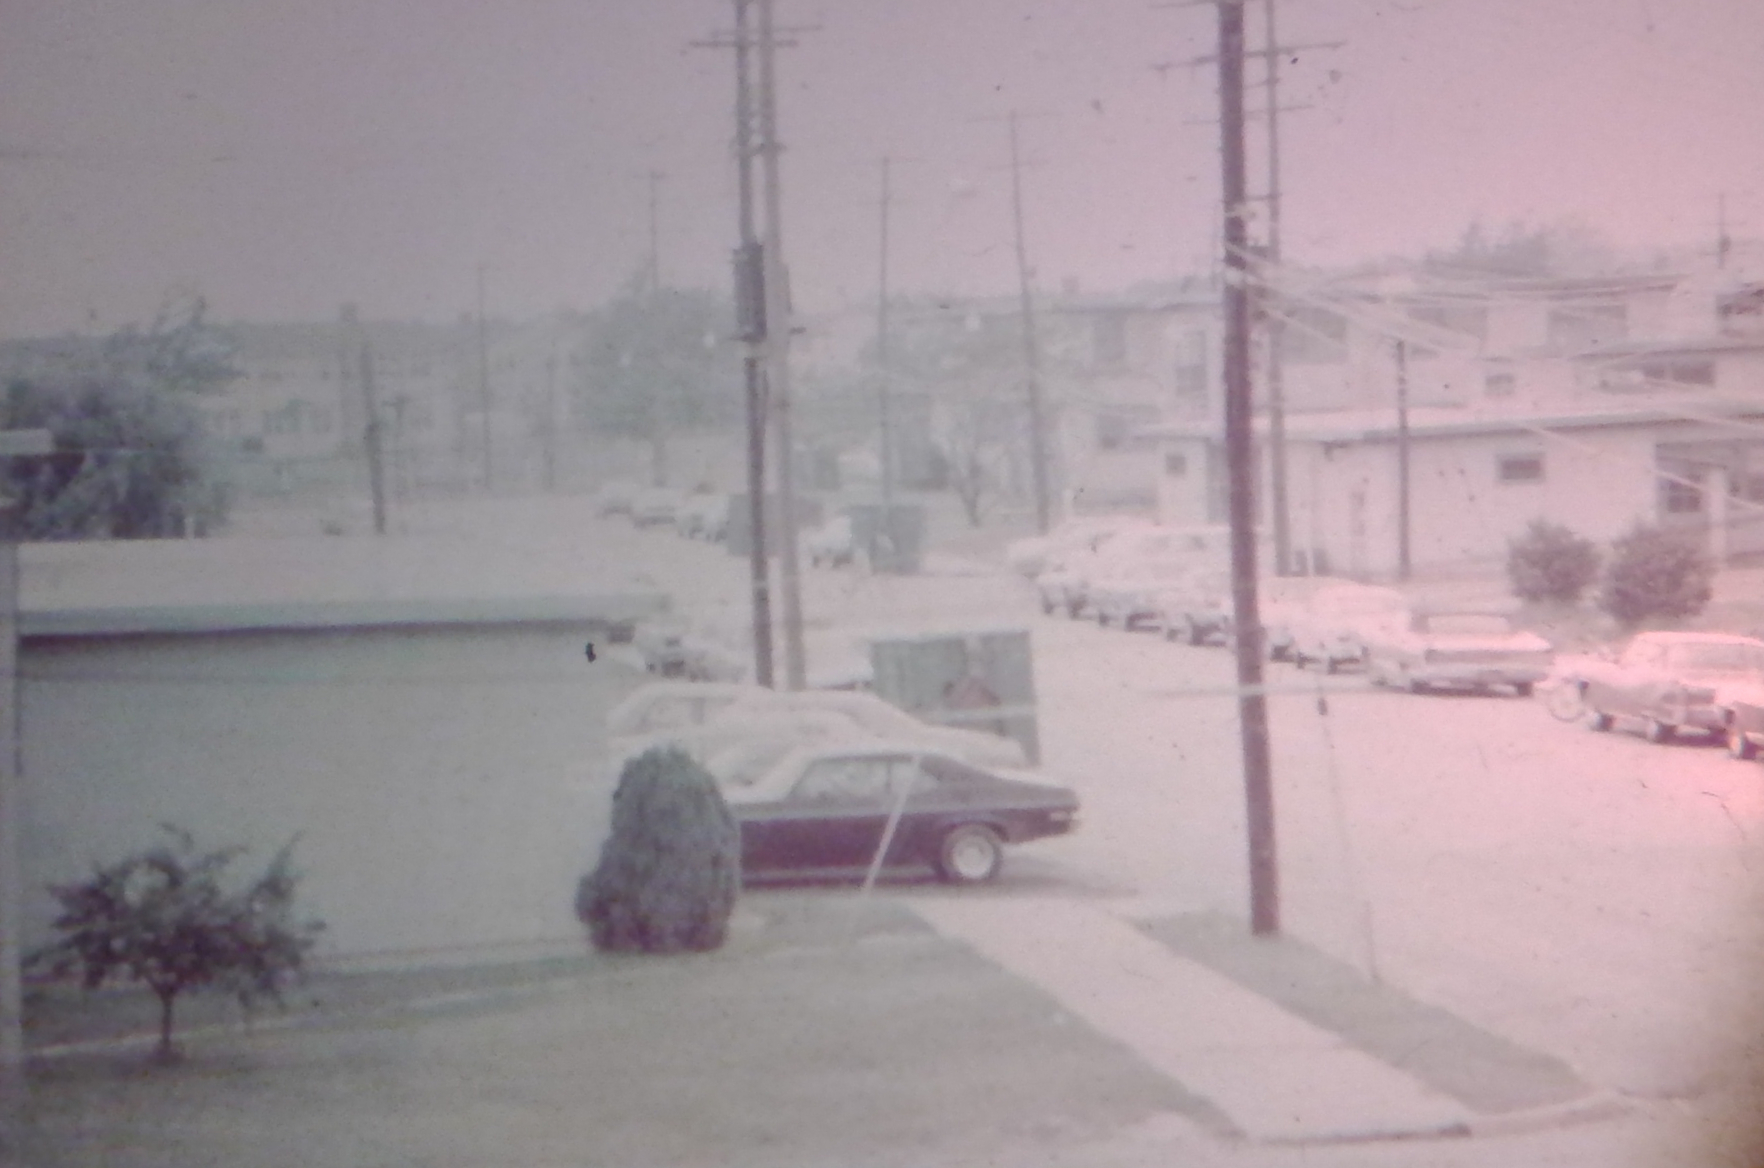
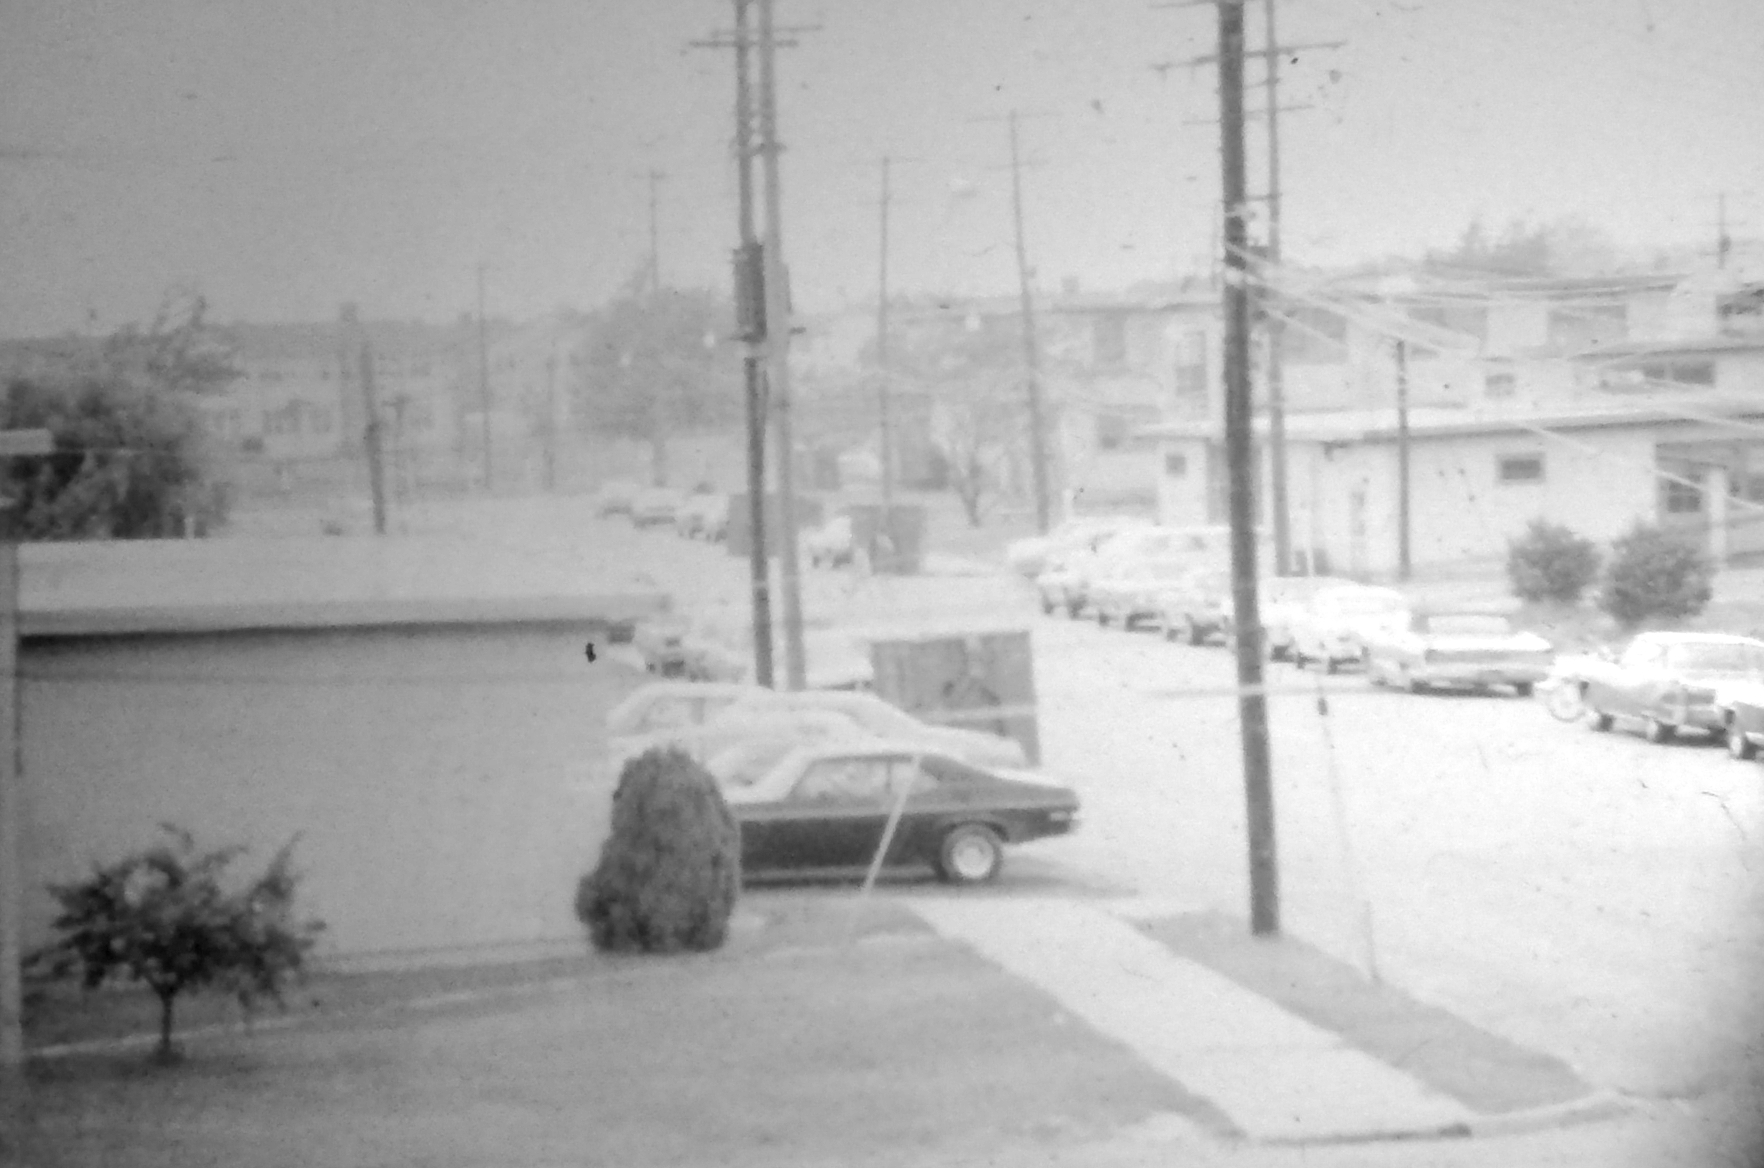
One advantage of digital photography is very evident in this picture of Dover Air Force Base from the stairway to my barracks in 1972. The color has faded almost completely, leaving a pink tinge to the right, and bits don’t fade.
So the final picture is saved as grayscale rather than RGB.
So now my slides, at least the ones I’ve found, are digitized. I’m keeping them, maybe I’ll have a better camera to better digitize some time in the future.
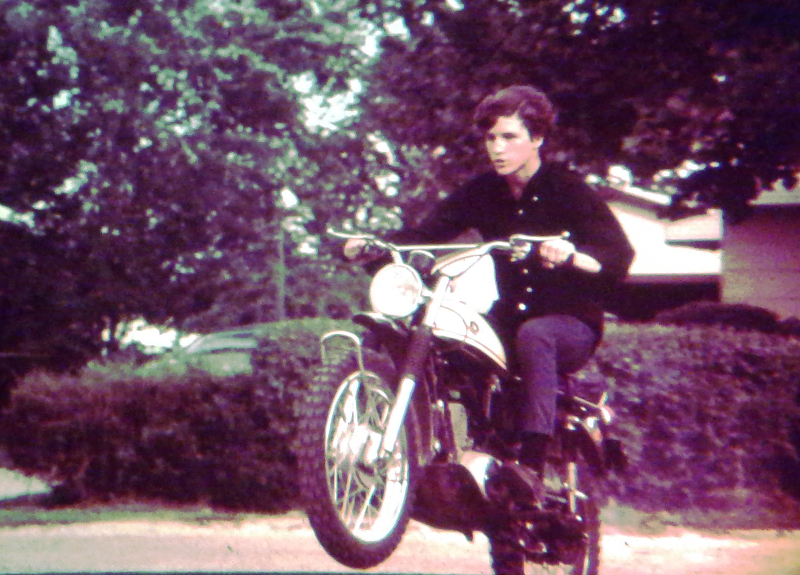
Here’s a slide I digitized of a friend and co-worker when I was a teenager; time was kinder to this almost fifty year old slide, although all the green color is faded; I restored it with GIMP the best I could. It’s obvious that where you had the slides developed matters a lot.
Now I need to buy a scanner...
| |